-
Our Blogs
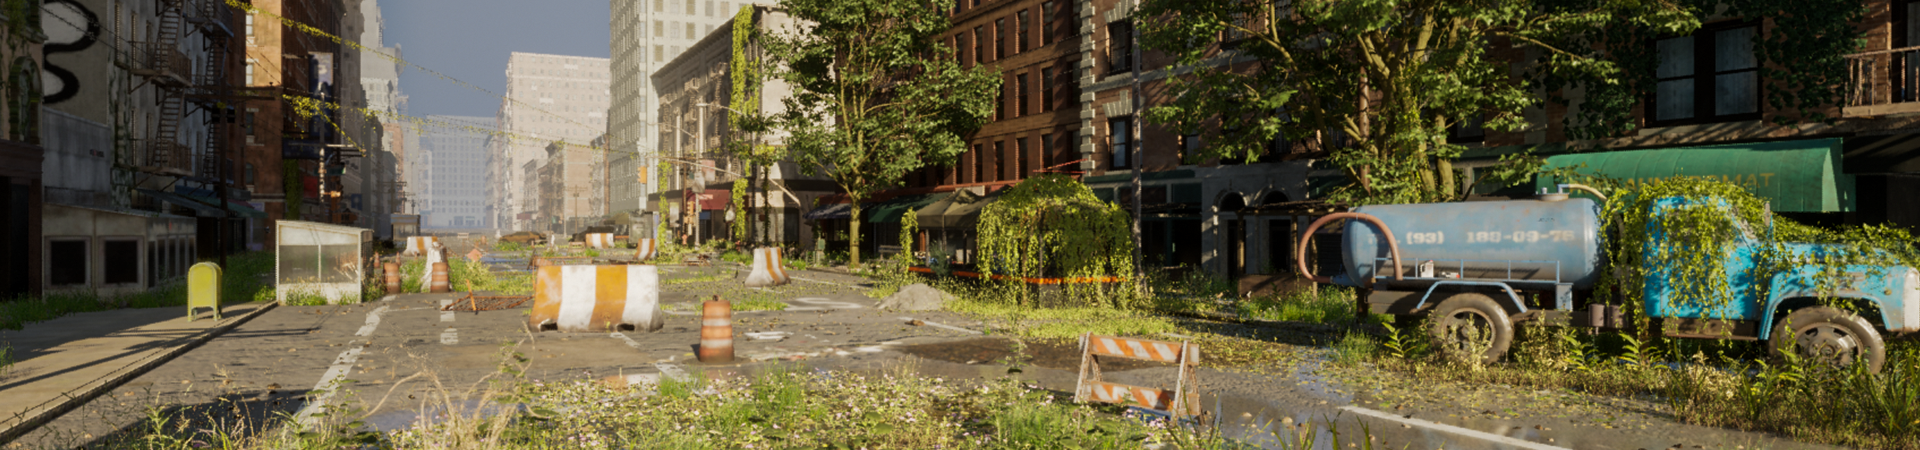
Building current-generation game assets in 3D is less complex but typically follows certain rules and guidelines. This article provides general steps for creating game assets in 3D.
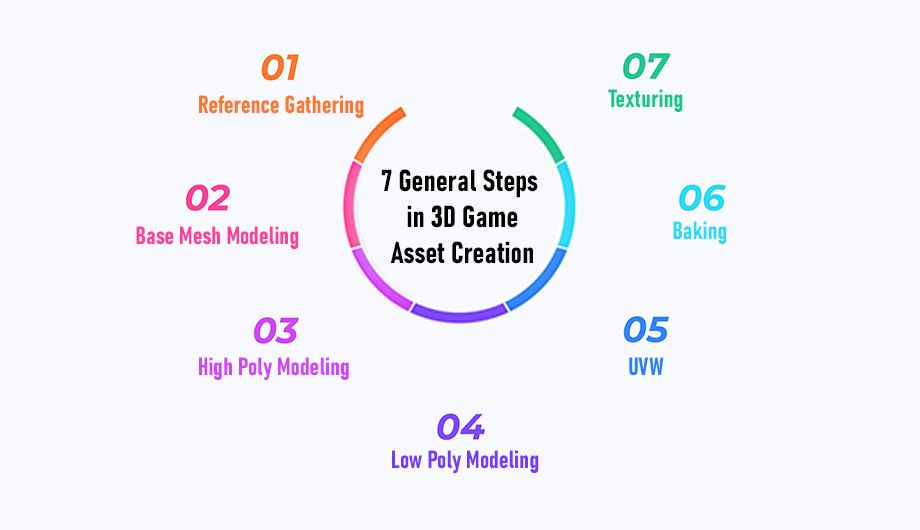
Step 1: Collect References
You may be tired of hearing about reference sheets in every tutorial, but this part is one of the most important steps when creating game assets. Even if you have a concept to create a model, you should gather references and research the object.
Step 2: Base Mesh Modeling
This phase creates the model's basic structure without focusing on the details. It's okay if your topology isn't clean at this point. You can also create low poly using this base. Chamfers/Bevels on edges allow you to turbo smooth or subdivide your model. Some artists prefer to create a rough base mesh and then sculpt and create the main shapes in Zbrush. Next, export the Zbrush shape to software such as Maya, update the raw model, and then get the base mesh.
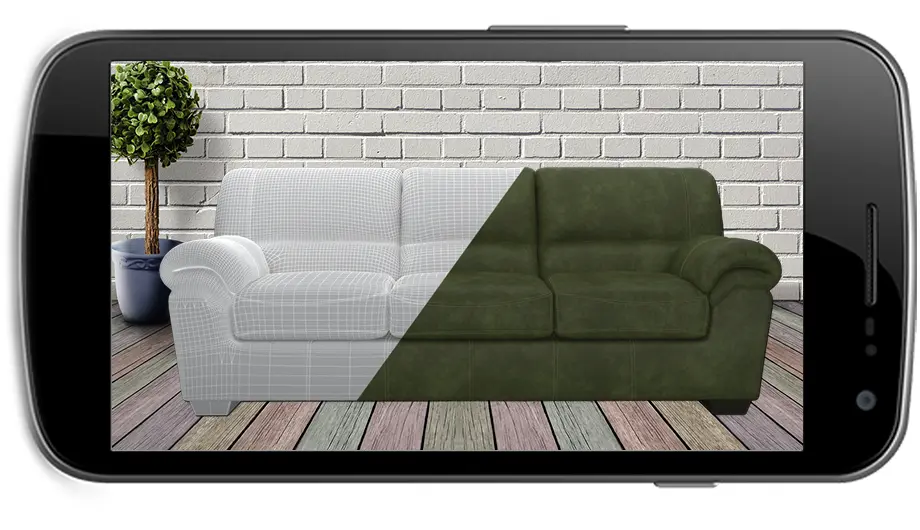
Step 3: High Poly Modeling
Convert the base mesh to a high poly model by creating support edges or chamfers and applying the Turbosmooth modifier. After this step, you have a choice. Are you looking to network? Shaping damage simplifies the texturing process, but this step is optional for many assets. Sometimes you have an asset that needs to be completely sculpted. Of course, this involves creating a base mesh, sculpting the shape, adding a third detail, and then completely sculpting the surface. It requires significant additional redesign effort.
Step 4: Low-poly Modeling
In this phase, we remove support edges and chamfers, remove extra polygons, and selectively weld everything together to create a low-poly with a decent topology. Then set the smoothing group to the value you want (this part can be done quickly). Some assets require proper resurfacing. This process can be quite time-consuming but may be necessary.
Step 5: UVW
UVW is not an abbreviation for anything, it is the same coordinate axes as XYZ and is called UV space. In this step of 3D Game Asset Creation, we will unpack the model. Note that each smoothing group in the model must create a cut in this UV range. Here's how it works: Each smoothing group must be its UV island. Note that it is better to hide an object's UV seams in places where the camera cannot see them. You can use the 3ds Max TexTools plugin to create smoothing groups for UV islands.
Step 6: Baking
For baking, you can use software such as Maya, Xnormal, Substance Painter, or Marmoset Toolbag.
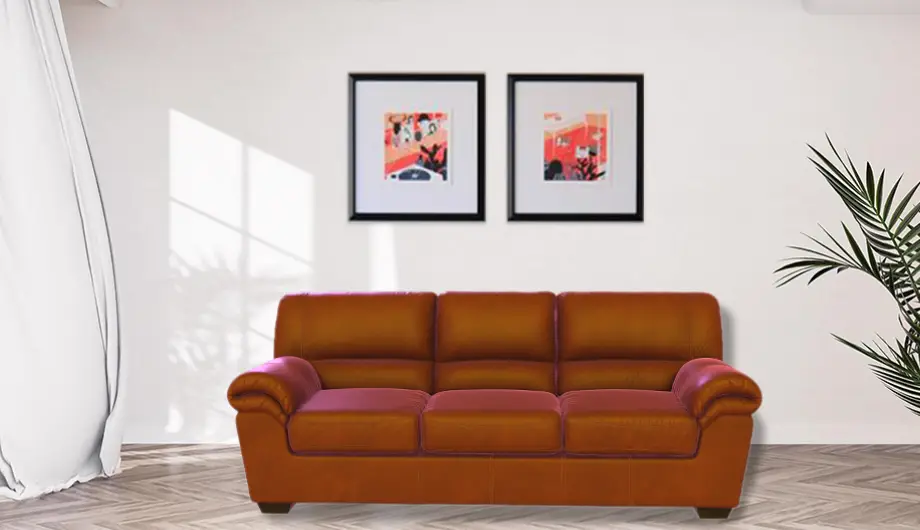
Step 7: Texturing
There are many different tools for texturing game assets 3D, from the simplest ones like Blender to the most popular ones like Mari and Substance Painter. At Vizent Solution, we create most of the materials needed for the software ourselves, using Substance Designer, a procedural texturing software, when necessary.
Conclusion
Typically, the base material for the entire object is created to match in color and roughness. Next, add subtle surface details to the material to make it look realistic. Finally, start painting and add larger and more noticeable texture details. A good rule of thumb is to add details exactly as you would in a real environment.
Recent Post
7 General Steps in 3D Game Asset Creation
15 Apr, 2024


Workflow Of 3D Game Art Outsourcing Company
28 Nov, 2023
© 2024 Vizent Solutions Pvt. Ltd. | All rights reserved